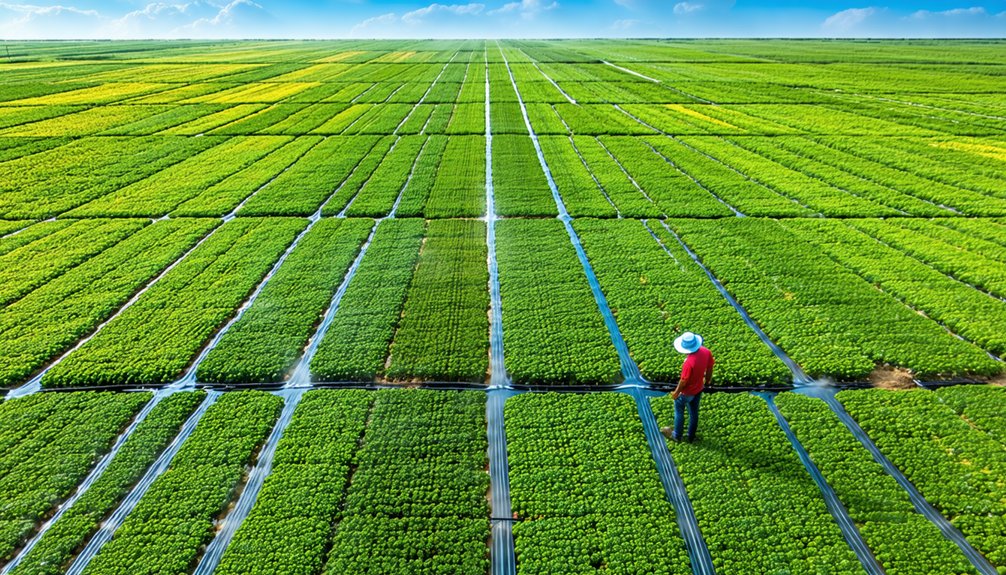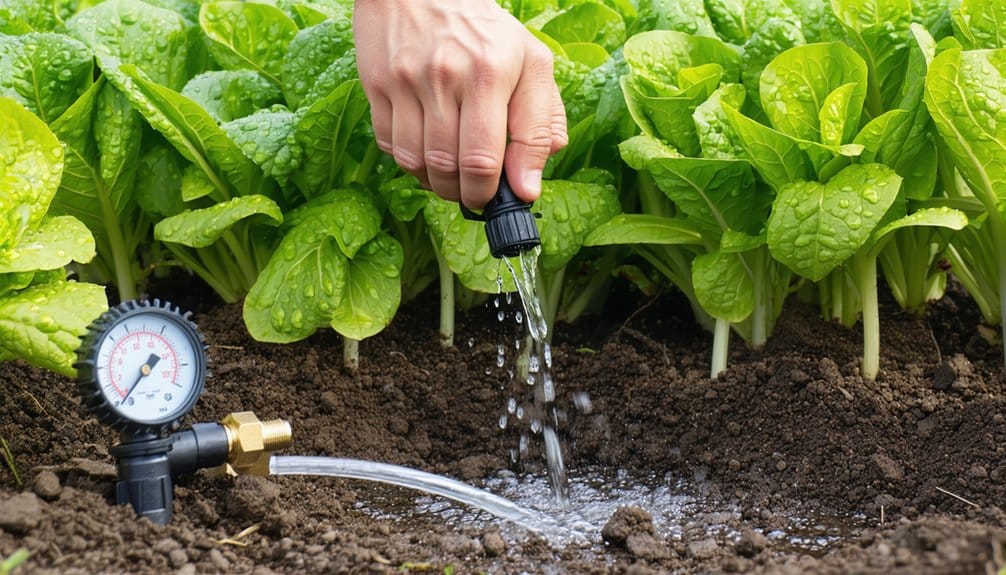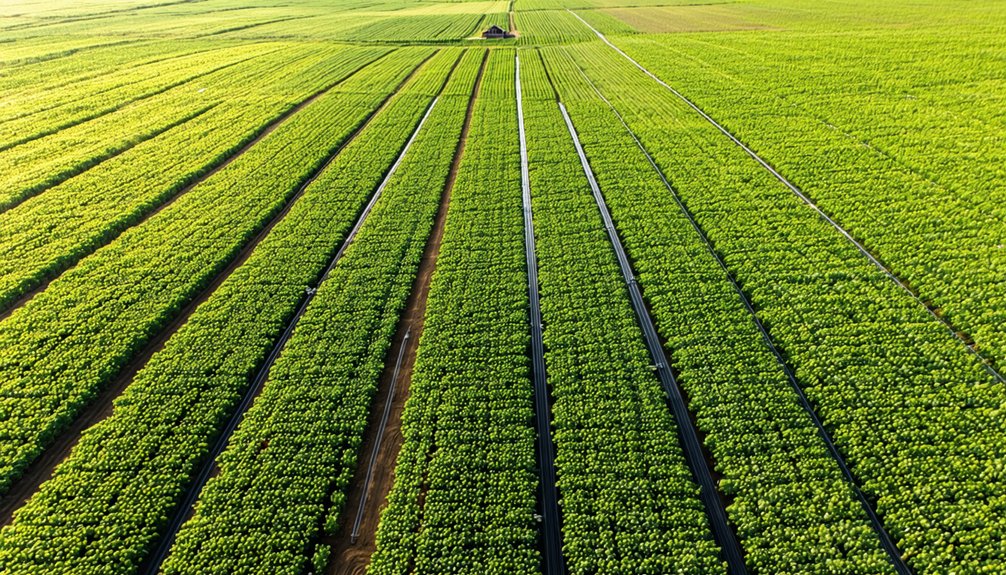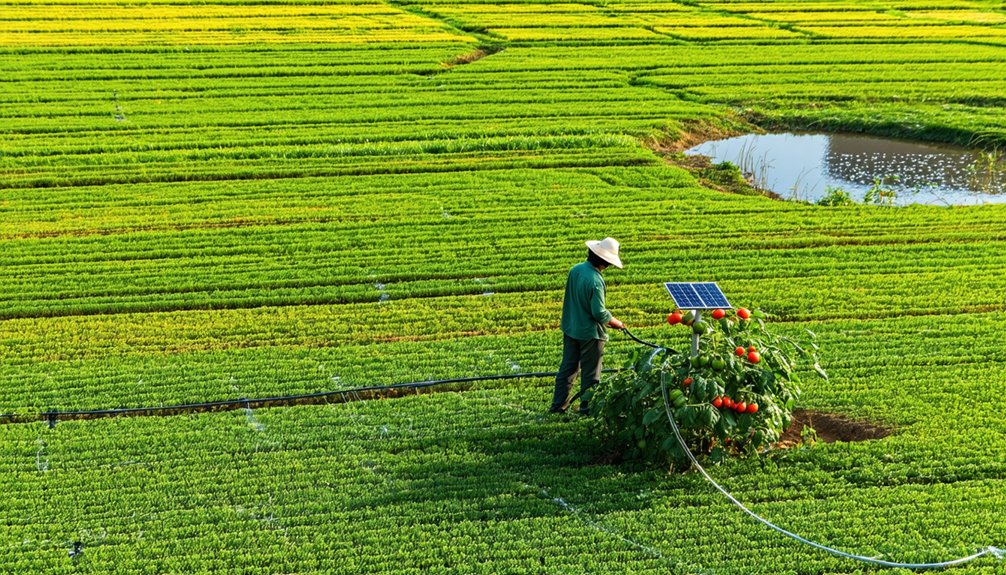
Creating an effective DIY irrigation system can significantly enhance yard maintenance. The process involves assessing plant needs and gathering materials. A well-planned layout is crucial for optimal water distribution. Following installation, testing the system ensures functionality. Each step is integral to achieving a successful setup. Understanding these steps could transform any garden, but the real challenge lies in executing them effectively. What comes next might surprise you.
Key Takeaways
- Assess your plants’ moisture needs and soil type to determine an efficient irrigation strategy.
- Gather materials like PVC pipes, drippers, and a timer for automated watering.
- Plan your irrigation layout by mapping plant locations and considering terrain slope.
- Install the main water supply line securely, ensuring leak-free connections and proper pressure.
- Test the system by measuring water distribution and adjust based on plant needs and soil moisture levels.
Determine Your Watering Needs
When planning a DIY irrigation system, it is essential to accurately assess the watering needs of the garden or landscape. Understanding the specific requirements of various plants is crucial, as different species have distinct moisture demands.
Factors such as soil type, sun exposure, and climate conditions also play a significant role in determining the amount of water needed. For effective yard irrigation, one must evaluate the size of the area to be watered and the typical rainfall patterns in the region.
This assessment helps in designing an efficient irrigation system installation that minimizes waste while ensuring adequate hydration. By calculating these factors, homeowners can create a tailored system that promotes healthy growth and conserves water effectively.
Gather the Necessary Materials
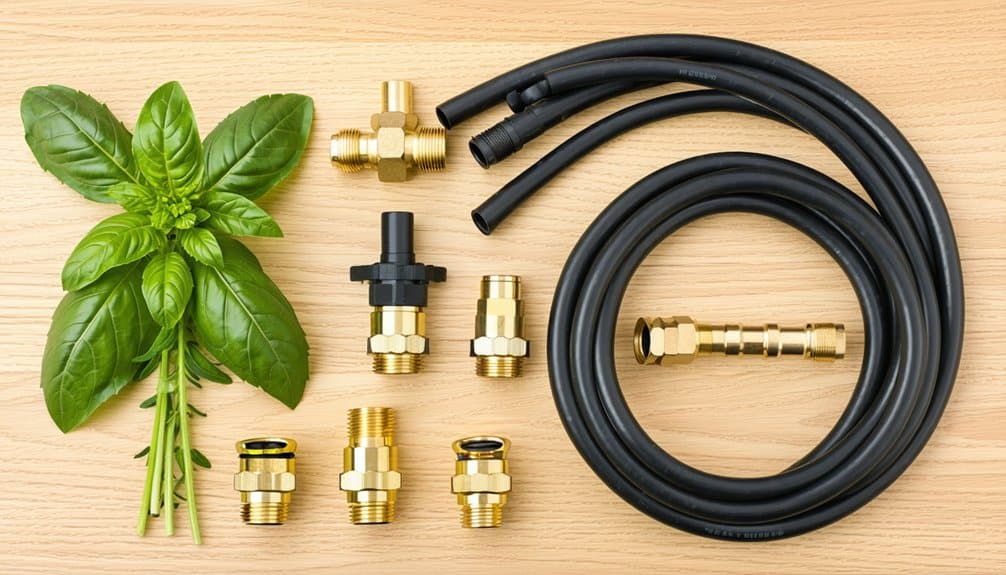
Having assessed the watering needs of the garden, the next step involves gathering the necessary materials for the irrigation system.
A successful homemade irrigation system requires specific components to ensure efficient operation and minimal irrigation system maintenance.
Here are three essential items to consider:
- PVC Pipes: These are the backbone of the system, transporting water from the source to the plants.
- Drippers or Sprinklers: These devices deliver the water directly to the plants, ensuring adequate moisture.
- Timer: A timer automates watering schedules, making it easier to maintain consistent moisture levels.
Plan Your Irrigation Layout
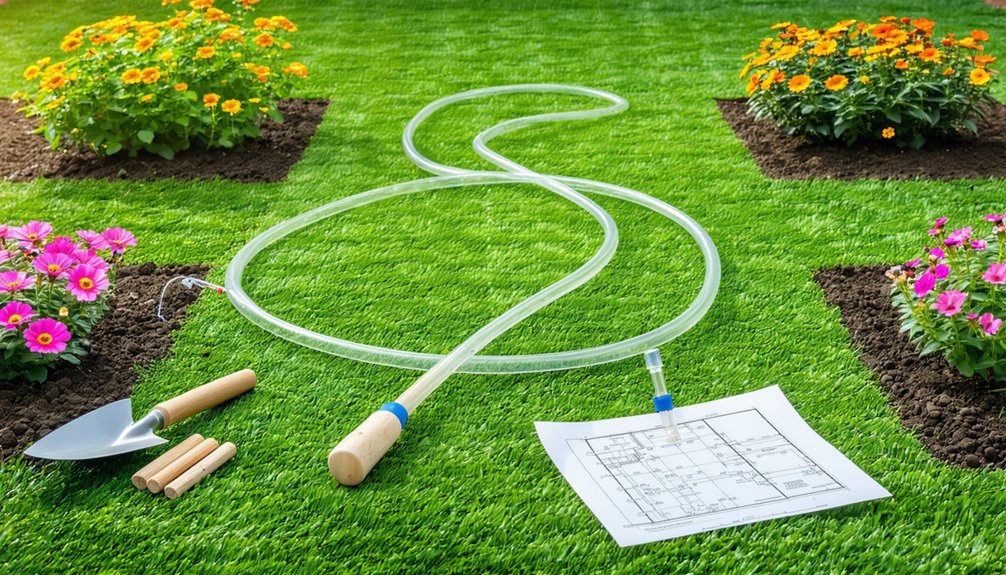
To ensure that water reaches every plant efficiently, careful planning of the irrigation layout is essential. A thorough assessment of the yard’s dimensions, plant types, and their water requirements is necessary.
It is advisable to sketch a detailed map, marking the locations of all plants and any existing landscaping features. This will help in determining the best placement for irrigation lines, ensuring optimal coverage.
Additionally, considering the slope of the terrain can aid in preventing water runoff and pooling. Identifying high-demand areas, such as vegetable gardens or flower beds, will guide decisions on where to focus irrigation efforts.
Ultimately, a well-structured layout promotes water conservation while supporting healthy plant growth throughout the yard.
Install the Main Water Supply Line
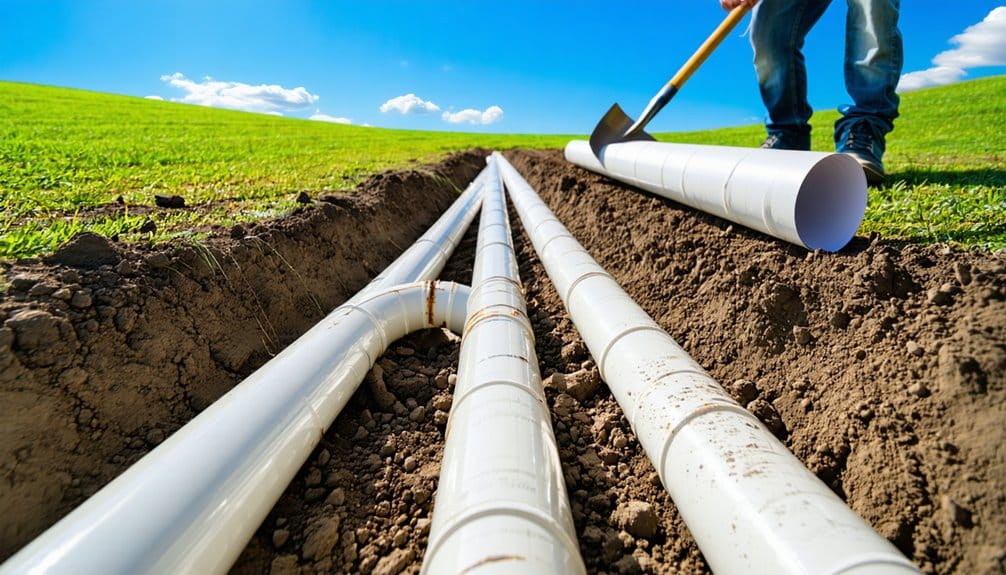
When installing the main water supply line for a DIY irrigation system, selecting the appropriate pipe material is crucial for durability and efficiency.
Additionally, determining the water source location will influence the design and effectiveness of the irrigation setup.
Careful consideration of these factors ensures a reliable and functional irrigation system.
Select Appropriate Pipe Material
Choosing the right pipe material is crucial for the effectiveness and longevity of a DIY irrigation system. The selection impacts both the water flow and durability of the system, making informed choices essential.
Here are three common pipe materials to consider:
- PVC (Polyvinyl Chloride): Lightweight and easy to install, PVC is resistant to corrosion and ideal for above-ground systems.
- PEX (Cross-Linked Polyethylene): Flexible and resistant to temperature fluctuations, PEX is suitable for underground installations and can expand without bursting.
- Polyethylene: Economical and flexible, polyethylene is great for low-pressure applications and can effectively withstand outdoor conditions.
Selecting the appropriate material based on your irrigation needs will ensure a successful and long-lasting system.
Determine Water Source Location
After selecting the appropriate pipe material for the DIY irrigation system, the next step involves determining the water source location and installing the main water supply line.
Homeowners should assess the proximity of their water source, whether it is a hose bib, well, or municipal supply. The chosen source should provide sufficient pressure and flow rate to meet irrigation needs.
Once identified, the main water supply line can be installed. This line connects directly to the water source and must be buried below frost line or insulated in colder climates to prevent freezing.
Properly securing joints and ensuring leak-free connections is crucial. Lastly, testing the system after installation will confirm functionality and efficiency before proceeding with the rest of the irrigation setup.
Set Up Drip Lines or Sprinklers
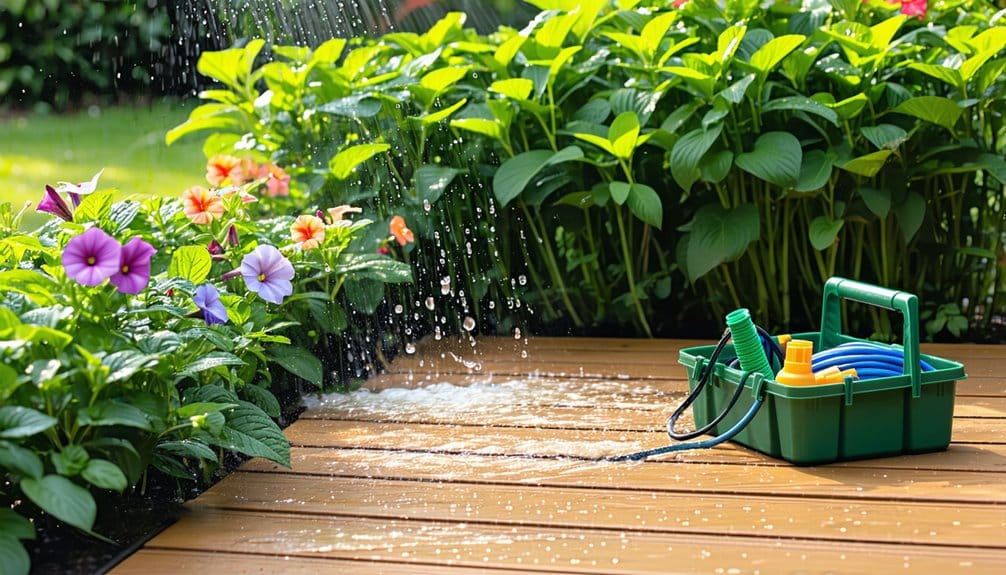
To ensure efficient watering of plants, setting up drip lines or sprinklers is essential in any DIY irrigation system. The choice between drip lines and sprinklers depends on the garden’s layout and the specific water needs of the plants.
Drip lines deliver water directly to the roots, minimizing evaporation and runoff, while sprinklers provide broader coverage for larger areas.
Here are three important considerations for setting up these systems:
- Layout Planning: Determine the optimal placement for drip lines or sprinklers to cover all plant areas evenly.
- Water Pressure: Ensure the water pressure is adequate for the chosen system to function effectively.
- Material Selection: Use durable materials that can withstand weather conditions and last for years in the garden.
Test and Adjust Your System
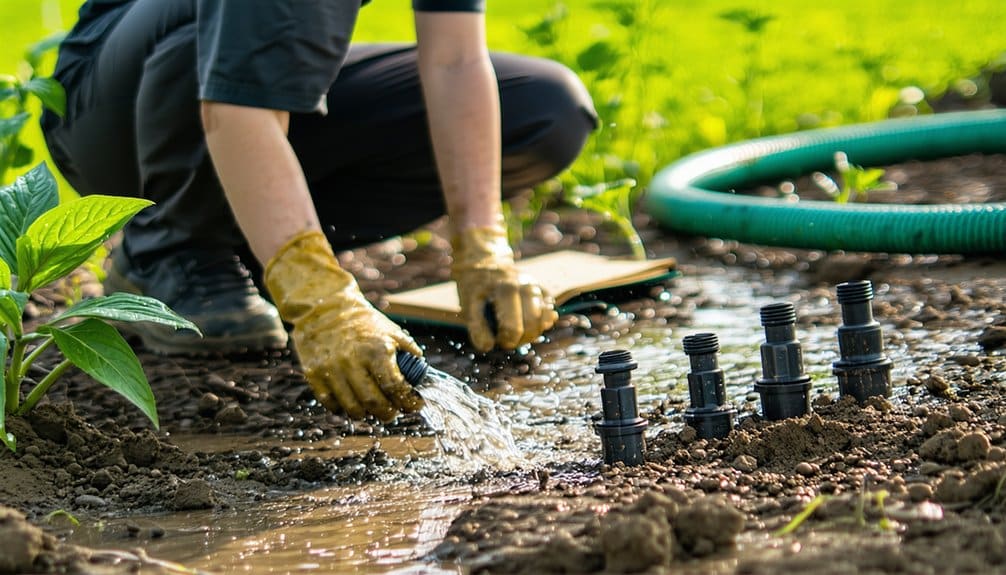
After setting up the drip lines or sprinklers, it is essential to test and adjust the irrigation system for optimal performance.
This involves checking water coverage to ensure all areas receive adequate moisture, adjusting sprinkler timing for efficiency, and monitoring soil moisture levels to avoid overwatering or underwatering.
Proper adjustments can lead to healthier plants and more efficient water use.
Check Water Coverage
How effectively does the irrigation system distribute water across the garden? To determine this, it is crucial to evaluate the coverage thoroughly.
A well-distributed system ensures that all areas receive adequate moisture, promoting healthy plant growth. Here are three steps to assess water coverage:
- Run a Test: Activate the irrigation system and observe how water is distributed over a set period, noting any dry or overly saturated spots.
- Use Containers: Place small containers or cups at various points throughout the garden to measure the amount of water collected, ensuring even distribution.
- Adjust Based on Findings: Identify areas needing more or less water, allowing for targeted adjustments in sprinkler heads or system settings to optimize performance.
These steps will help ensure efficient water use in the garden.
Adjust Sprinkler Timing
Adjusting sprinkler timing is essential for optimizing water usage and ensuring plants receive the right amount of moisture.
To achieve this, one should begin by determining the optimal watering duration based on the specific needs of the plants and the type of soil in the yard. A general guideline is to water deeply and less frequently, which encourages root development.
After establishing the initial timing settings, it is crucial to conduct tests by observing the lawn’s response over several days. Adjustments can be made based on weather conditions, such as rainfall, or changes in temperature.
Regular assessment ensures that the irrigation system operates efficiently, promoting healthy plant growth while conserving water resources effectively.
Monitor Soil Moisture
To ensure an irrigation system operates effectively, monitoring soil moisture is vital for making informed adjustments. Proper moisture levels not only promote healthy plant growth but also conserve water.
A well-timed assessment can prevent overwatering or underwatering, both of which can harm plants.
Here are three effective methods to monitor soil moisture:
- Soil Moisture Sensors: These devices provide real-time readings and can automatically adjust the irrigation system based on moisture levels.
- Manual Testing: Digging a small hole to feel the soil’s moisture can provide a quick, hands-on assessment.
- Observation: Regularly checking plant health and soil appearance can offer insights into moisture needs.
Conclusion
In conclusion, creating a DIY irrigation system for your yard is a straightforward process that can significantly enhance plant health and conserve water. By following the six easy steps—from assessing watering needs to testing the system—gardeners can ensure their plants receive the right amount of moisture. Regular monitoring and adjustments will help maintain optimal conditions, allowing for a thriving garden while saving time and resources. With a little effort, anyone can achieve a successful irrigation solution.