Creating a DIY PVC irrigation system can significantly improve garden efficiency. This process involves several straightforward steps that ensure every plant receives adequate water. From gathering materials to maintaining the system, each step plays a crucial role. Understanding the layout and assembly is essential for optimal performance. By following these guidelines, one can achieve a reliable irrigation solution. What comes next might just transform the way gardens are nourished.
Key Takeaways
- Gather essential materials like PVC pipes, fittings, connectors, valves, and tools for your irrigation system assembly.
- Plan your layout considering plant types, spacing, and water pressure for optimal distribution.
- Cut PVC pipes accurately using a saw, ensuring smooth ends for better sealing.
- Assemble the system by dry fitting components first, then applying PVC cement for secure joints.
- Test and maintain the system regularly to check for leaks, clogs, and uniform water distribution.
Gather Your Materials
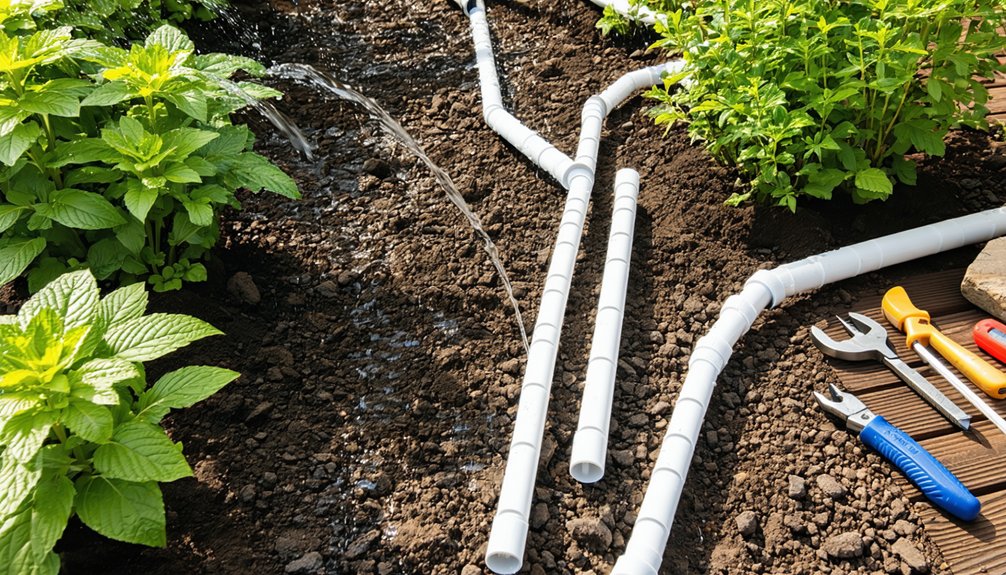
To successfully create a DIY PVC irrigation system, one must first gather the essential materials. This includes various sizes of PVC pipes, fittings, and connectors, which are crucial for constructing the framework of the irrigation system.
Additionally, a reliable water source such as a garden hose or faucet is necessary to ensure proper flow. One should also consider purchasing valves to control water distribution effectively.
Tools such as a saw for cutting the PVC pipes, a measuring tape, and a drill for making holes are essential for assembly.
With these materials in hand, the foundation for an efficient PVC pipe irrigation system is set, enabling homeowners to implement effective home irrigation solutions tailored to their specific gardening needs.
Plan Your Layout
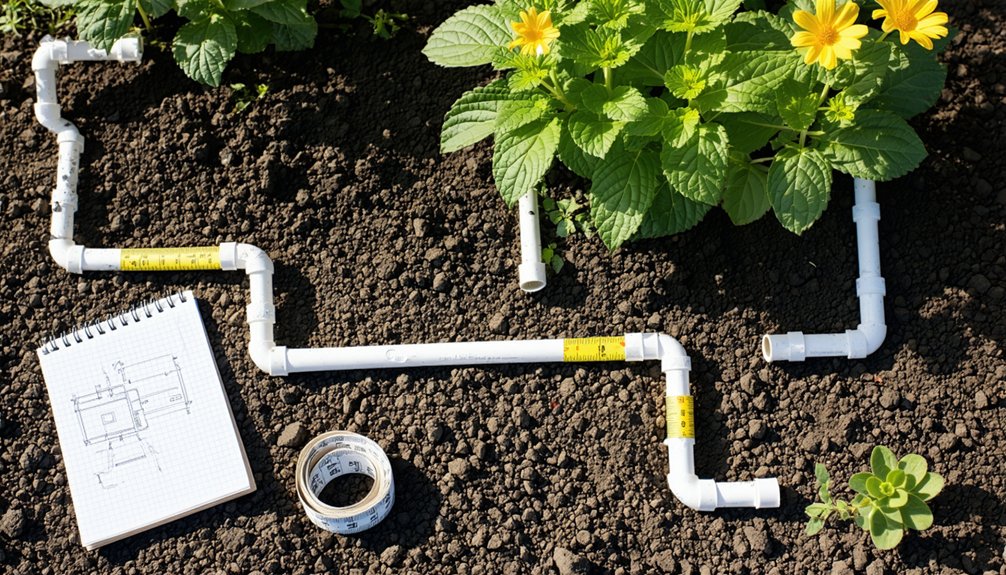
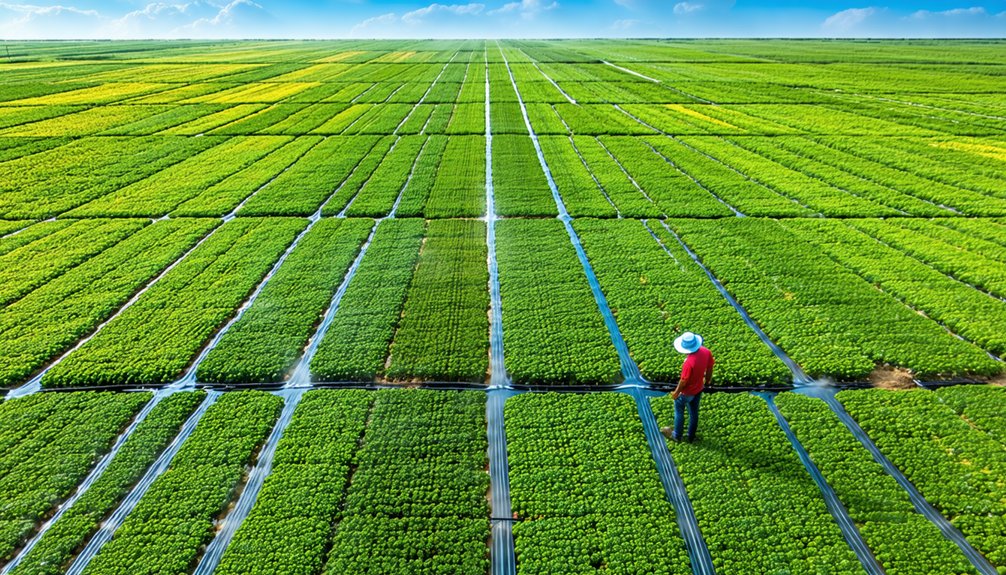
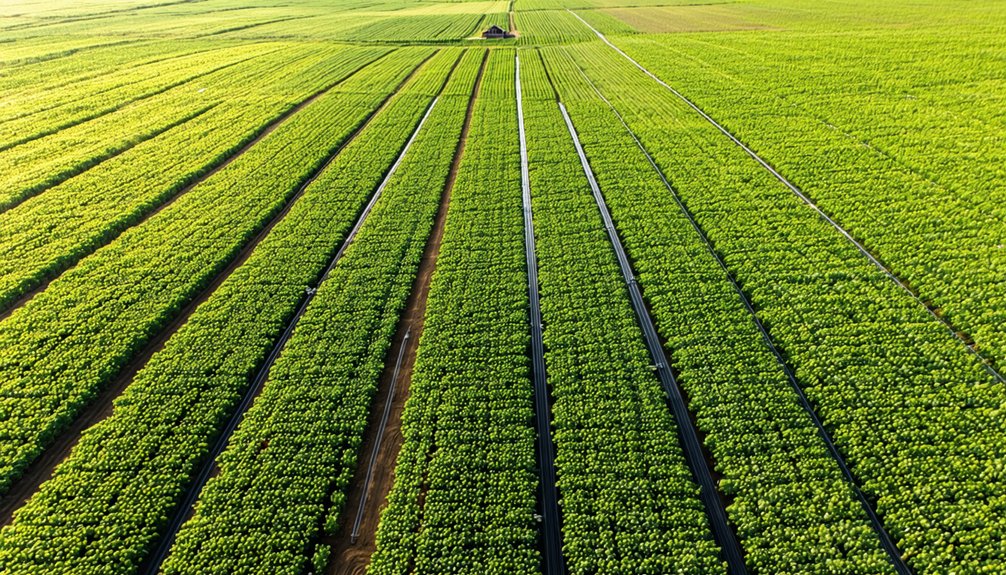
While designing an irrigation system, careful planning of the layout is crucial for achieving optimal water distribution throughout the garden. A well-thought-out layout ensures that all plants receive the appropriate amount of water, minimizing waste and enhancing growth. This irrigation system guide emphasizes the importance of considering various factors such as plant types, spacing, and water pressure.
| Component | Purpose | Placement |
|---|---|---|
| Main Pipeline | Distributes water | Across the garden |
| Lateral Lines | Supplies specific zones | Near plant roots |
| Emitters/Sprinklers | Delivers water | Above or below soil |
Cut the PVC Pipes
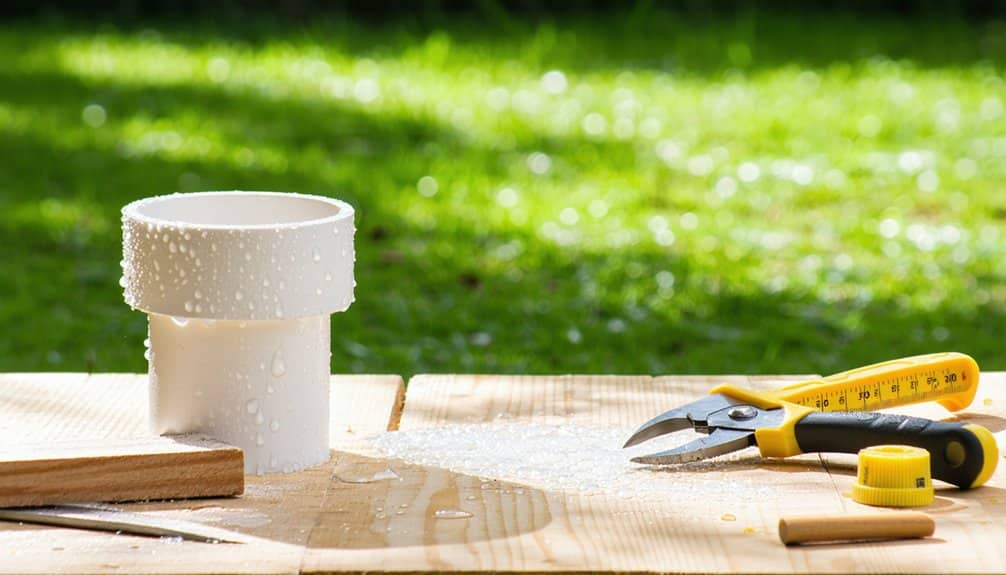
Cutting the PVC pipes accurately is a critical step in constructing an efficient irrigation system. Precise measurements should be taken based on the planned layout to ensure the right lengths. A measuring tape and a marker can help in marking the cutting points clearly on the pipes.
The use of a PVC pipe cutter or a fine-toothed saw is recommended for clean cuts, minimizing burrs that could affect fittings later. It is essential to wear safety goggles during the cutting process to protect the eyes from debris.
After cutting, the ends of the pipes should be smoothed using a file or sandpaper, which facilitates better sealing when the pieces are eventually joined together in the system assembly.
Assemble the System
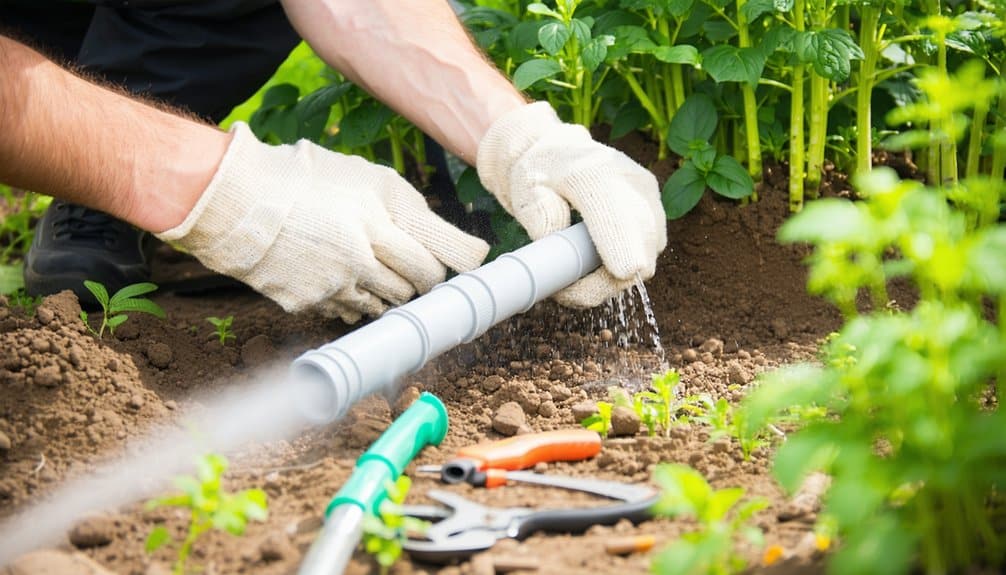
Assembling the irrigation system requires careful attention to detail to ensure all components fit together seamlessly.
Each piece must be aligned correctly to prevent leaks and ensure optimal water flow. The assembly process involves the following key steps:
- Dry Fit Components: Before applying any adhesive, assemble the pipes and fittings without glue to check for proper alignment and fit.
- Use PVC Cement: Apply PVC cement evenly on both the pipe and fitting ends. This ensures a strong bond that will withstand pressure over time.
- Secure Joints: Hold the joints together for a few seconds after cementing to allow the adhesive to set properly, preventing any slippage.
Following these steps will lead to a sturdy and efficient irrigation system ready for installation.
Install the PVC Irrigation System
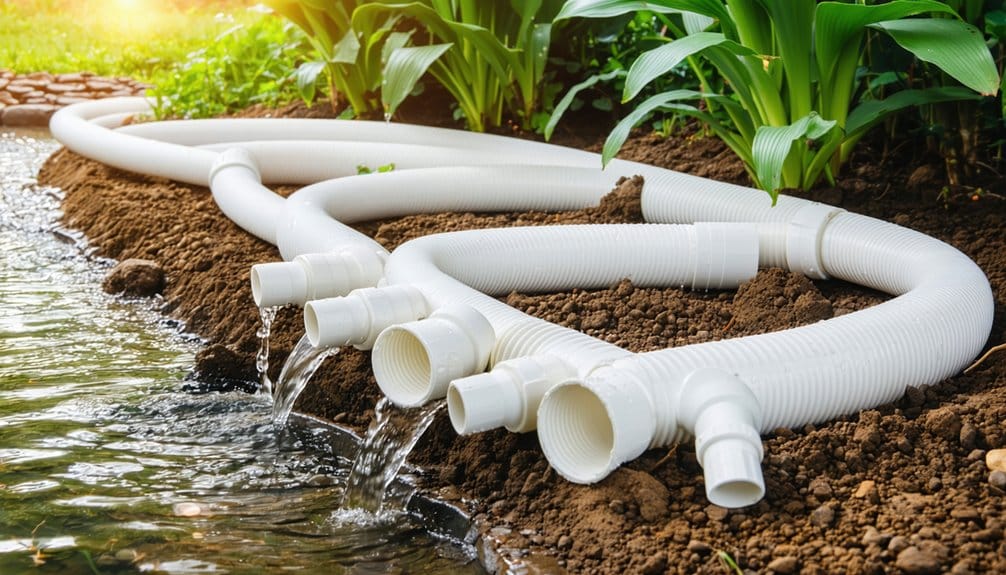
To effectively install the PVC irrigation system, one must first gather all necessary materials, ensuring that all components are ready for assembly.
Next, the process involves connecting the PVC pipes according to the planned layout, which is crucial for achieving optimal water flow.
Proper installation will enhance the system’s efficiency and longevity.
Gather Necessary Materials
Before embarking on the installation of a DIY PVC irrigation system, one must gather all necessary materials to ensure a smooth process.
A well-prepared individual can avoid delays and complications by assembling the right tools and components beforehand.
The essential materials include:
- PVC Pipes – Various sizes depending on the layout and specific irrigation needs.
- PVC Fittings – Elbows, tees, and connectors to create the desired piping configuration.
- PVC Cement – A strong adhesive to securely bond the pipes and fittings.
With these materials in hand, one can effectively move forward with the installation, ensuring that the irrigation system will function efficiently and reliably for optimal watering of gardens or landscapes.
Connect PVC Pipes
Connecting the PVC pipes marks a crucial step in establishing an efficient irrigation system.
First, ensure all pipe sections and fittings are clean and free from debris. Begin by applying PVC primer to the ends of each pipe and the inside of the fittings. This prepares the surfaces for bonding.
Next, apply PVC cement quickly and firmly join the pipes and fittings together, ensuring they are aligned properly. Hold the connection for a few seconds to allow the cement to set.
It is essential to work in sections, allowing each joint to cure before proceeding further to avoid complications.
After all connections are made, run water through the system to check for leaks and ensure proper functionality.
Test the System
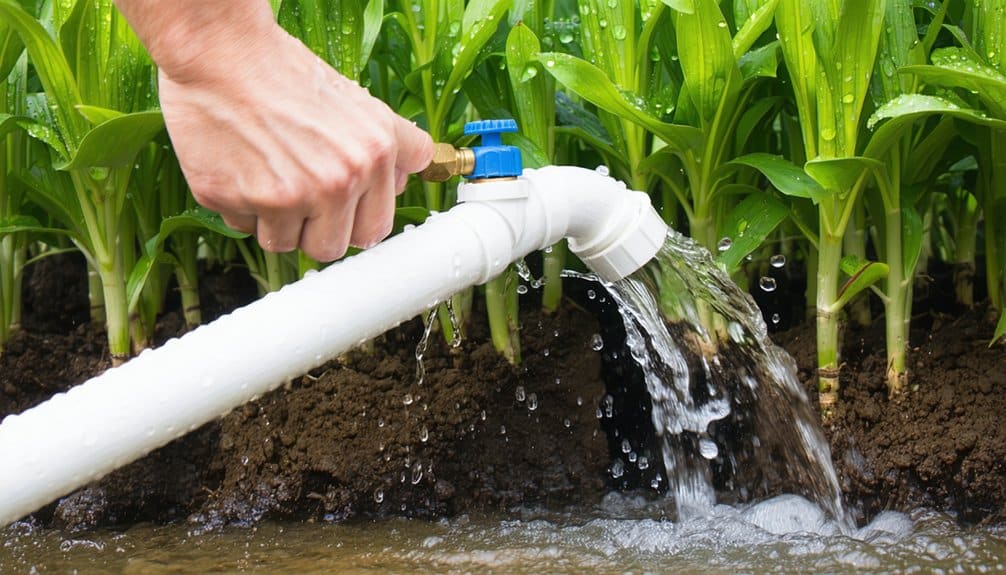
Testing the system is a crucial step in ensuring that the DIY PVC irrigation setup functions as intended. This process allows for the identification of any leaks, blockages, or pressure issues that could hinder optimal performance. A systematic approach can help streamline this evaluation.
- Inspect Connections: Begin by examining all joints and connections for any visible leaks. Tightening fittings may resolve minor issues.
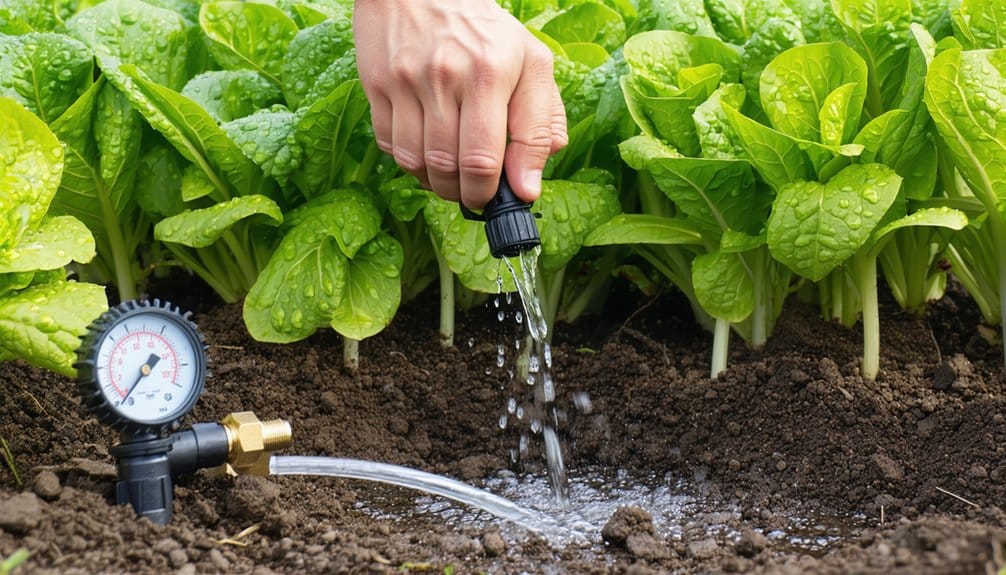
- Check Water Flow: Activate the system and observe the flow rate at various outlets. This will help determine if the pressure is adequate for all plants.
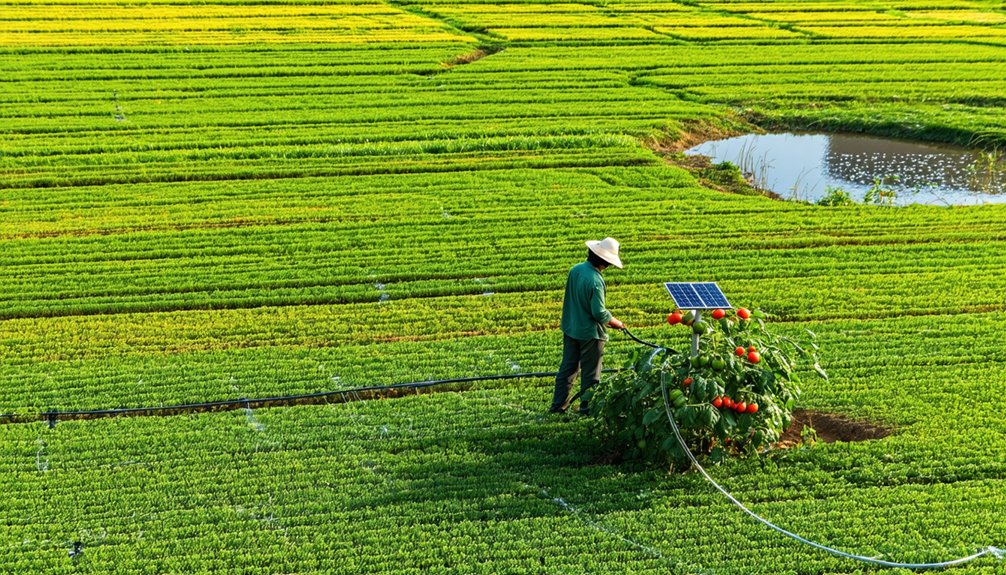
- Monitor Coverage: Assess whether water reaches all intended areas uniformly, ensuring that no dry patches are left behind.
These steps will confirm the functionality of the irrigation system before regular use.
Maintain Your Irrigation System
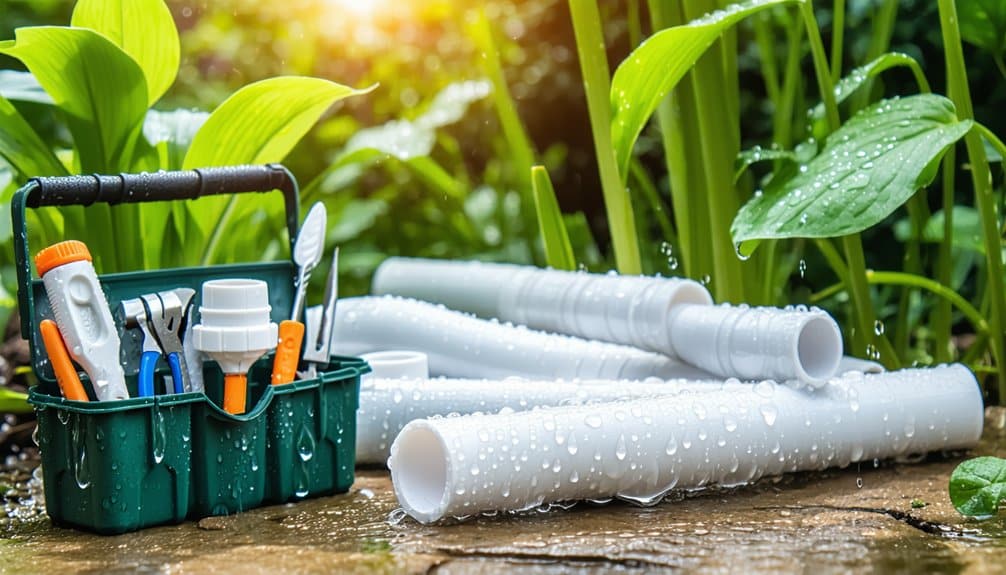
Regular maintenance of the irrigation system is essential for its longevity and efficiency. Users should inspect the system regularly for leaks, clogs, and wear.
Checking connections and joints can prevent water loss and ensure optimal performance. Cleaning filters and nozzles is crucial to maintain proper water flow and distribution.
Additionally, users should monitor the system for any signs of damage caused by weather conditions or pests. It is advisable to flush the system periodically to remove sediment buildup.
Seasonal adjustments, such as modifying watering schedules or replacing worn parts, can enhance the system’s effectiveness.
Conclusion
In conclusion, creating a DIY PVC irrigation system is a rewarding endeavor that enhances garden efficiency. By following the outlined steps—gathering materials, planning the layout, cutting and assembling pipes, installing the system, testing for leaks, and maintaining it regularly—gardeners can ensure their plants receive optimal water distribution. With careful planning and execution, this simple yet effective system can lead to healthier plants and a flourishing garden, making it a worthwhile project for any gardening enthusiast.