
Creating a backyard patio can significantly enhance outdoor living spaces, offering both functionality and aesthetic appeal. The process involves careful planning, material selection, and precise execution. While the task may seem straightforward, each step requires attention to detail to ensure durability and visual harmony. Understanding the key phases before starting can help avoid common pitfalls and deliver a patio that complements the home’s design. The next considerations reveal essential guidelines for a successful installation.
Key Takeaways
- Plan your patio layout considering sunlight, drainage, and proximity to your house for optimal functionality and aesthetics.
- Clear and level the ground, excavating to a uniform depth with a slight slope for proper drainage before installation.
- Choose durable materials like concrete, stone, or brick, and install a compacted base layer of crushed stone or gravel.
- Cut pavers precisely with safety gear, then fill joints with polymeric sand to lock pavers and prevent shifting.
- Add finishing touches such as lighting, seating, and shade structures, and maintain regularly with cleaning and sealant applications.
Planning Your Patio Layout
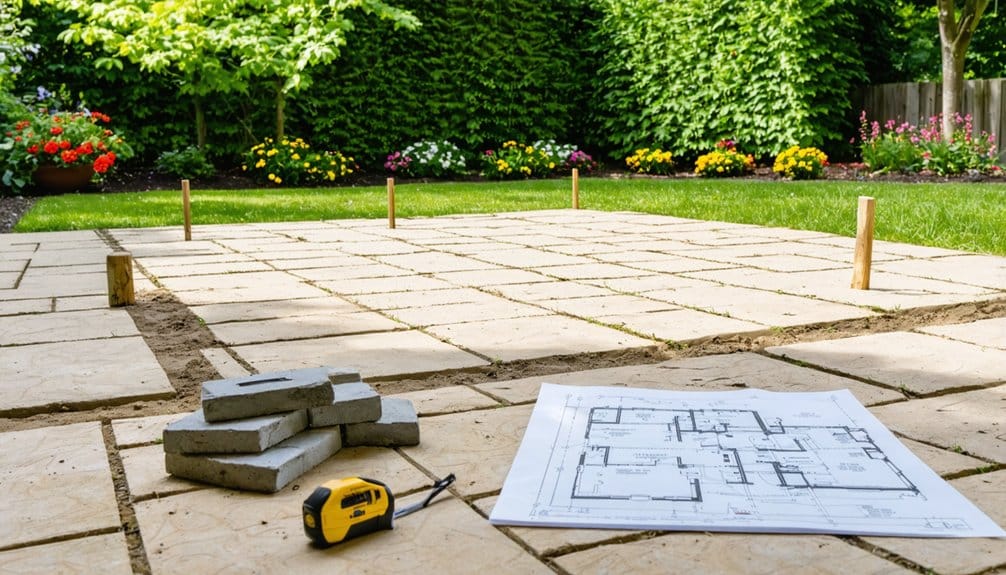
Where the patio will be placed significantly impacts its functionality and aesthetic appeal. Effective planning is essential in a successful diy patio installation, as it determines how well the space integrates with the surrounding environment and meets user needs.
Factors such as sunlight exposure, proximity to the house, and natural drainage must be considered during layout design. Mapping out the patio area with precise measurements ensures proper space utilization and avoids future adjustments.
Planning also involves deciding on the patio’s shape and size to complement the backyard transformation goals. Thoughtful layout planning facilitates smooth execution when installing a patio, reducing errors and saving time.
Choosing the Right Materials
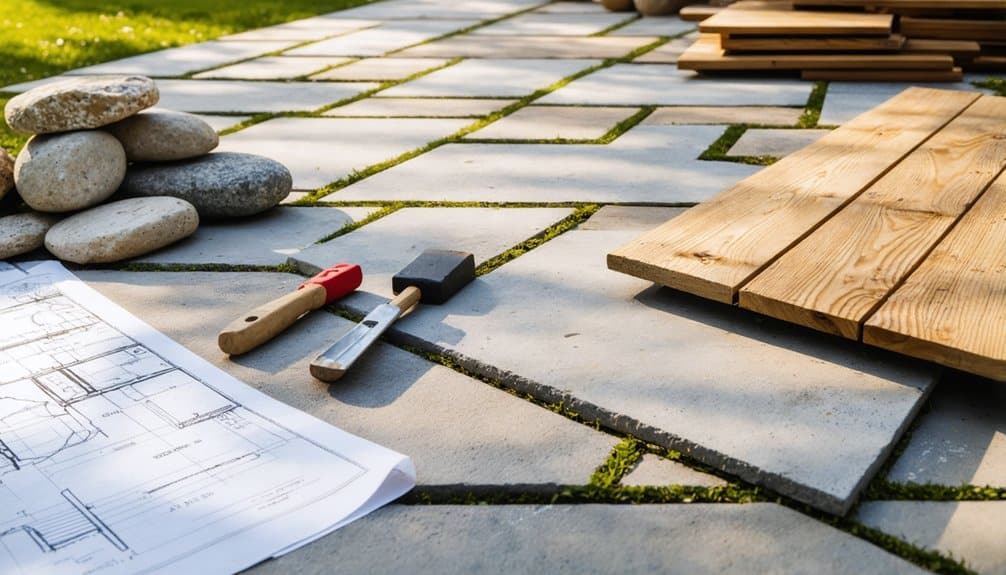
Selecting materials for a patio involves evaluating both durability and visual appeal.
Different materials offer varying levels of resistance to weather and wear, impacting long-term maintenance.
Additionally, the choice influences the overall style, allowing customization to match the desired aesthetic.
Material Durability Comparison
Material durability is a crucial factor when deciding on patio materials, as it directly impacts longevity and maintenance requirements. Selecting materials that withstand weather and wear reduces the frequency of repairs and aligns with effective patio maintenance tips for successful DIY backyard projects.
Common materials include:
- Concrete: Durable and low-maintenance, resists cracking with proper sealing
- Natural stone: Long-lasting but may require sealing to prevent staining
- Brick: Strong and weather-resistant but can chip or crack over time
- Composite decking: Resists rot and insects, ideal for moisture-prone areas
Understanding each material’s durability helps homeowners make informed choices, ensuring their patio remains functional and attractive with minimal upkeep.
This knowledge is essential for planning sustainable, cost-effective DIY backyard projects.
Aesthetic and Style Options
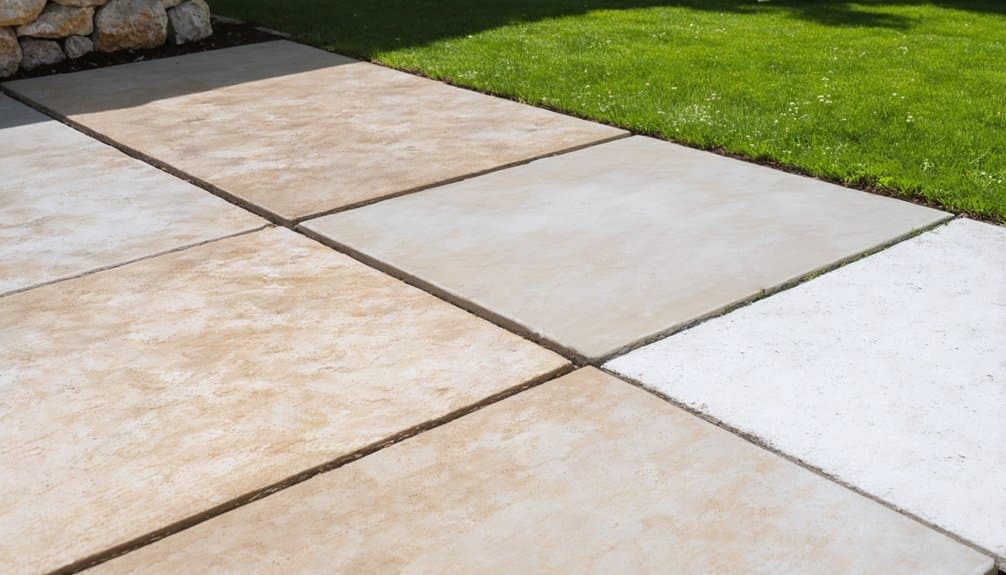
Visual appeal plays a significant role in choosing materials for a patio, as it defines the overall ambiance and complements the surrounding landscape. Homeowners must consider texture, color, and pattern to create a cohesive outdoor space. Natural stone offers timeless elegance, while concrete can be customized with various finishes. Wood adds warmth but requires maintenance. The following table summarizes common material options and their aesthetic characteristics:
| Material | Aesthetic Features |
|---|---|
| Natural Stone | Varied textures, earthy tones, classic |
| Concrete | Versatile finishes, modern or rustic |
| Wood | Warmth, natural grain, traditional |
| Brick | Rich color, patterned layouts, vintage |
This comparison assists in selecting materials that enhance the desired style, ensuring the patio harmonizes with its environment.
Gathering Necessary Tools and Supplies
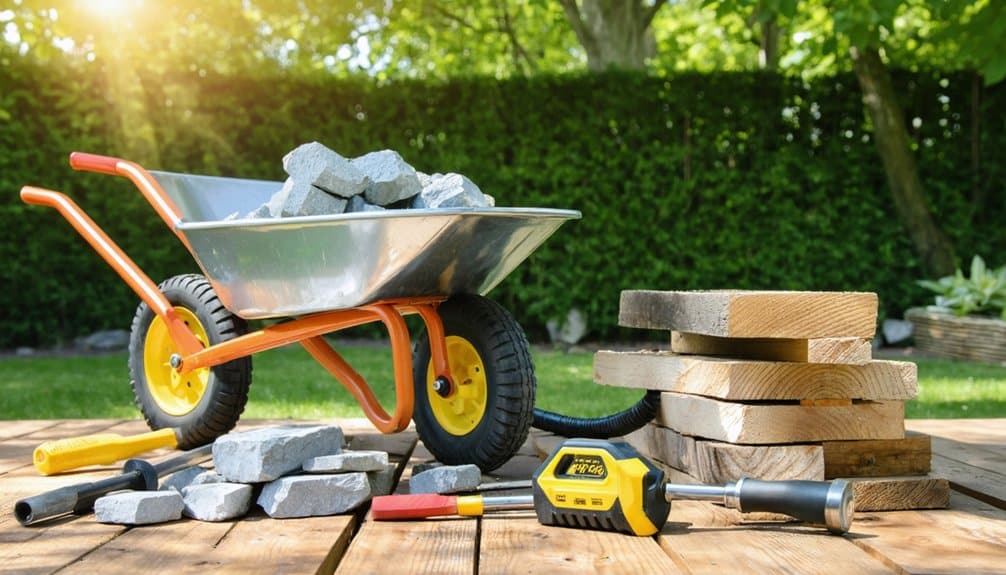
Proper preparation is essential before beginning any patio installation project. Gathering the right tools and supplies ensures efficiency and accuracy throughout the process.
Essential items include durable materials and equipment tailored to the chosen patio style. Commonly required tools and supplies are:
- Shovels and rakes for handling soil and leveling surfaces
- A wheelbarrow to transport materials like gravel and sand
- A plate compactor or tamper to compact the base layers
- Masonry tools such as a rubber mallet, level, and measuring tape for precise placement
Having these tools and materials ready minimizes interruptions and supports a smooth workflow, setting the foundation for a successful patio installation.
Properly sourced supplies contribute to the longevity and visual appeal of the finished patio.
Preparing the Ground Surface
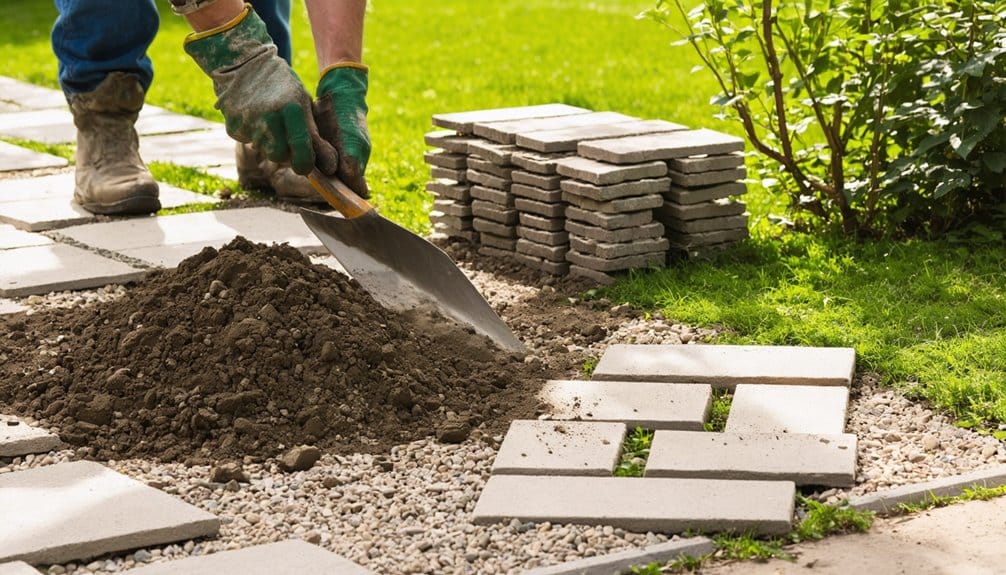
Before laying any patio materials, the ground surface must be carefully prepared to ensure stability and durability. This process begins with clearing the area of grass, roots, rocks, and debris. Removing organic material prevents future settling or shifting.
Next, the soil should be excavated to a uniform depth suitable for the intended patio thickness and base layers. It is important to create a slight slope away from any structures to allow for proper drainage and prevent water accumulation.
The surface should then be leveled and compacted using a hand tamper or plate compactor. Properly preparing the ground minimizes uneven settling and extends the patio’s lifespan, forming a solid foundation for the subsequent installation steps.
Installing the Base Layer
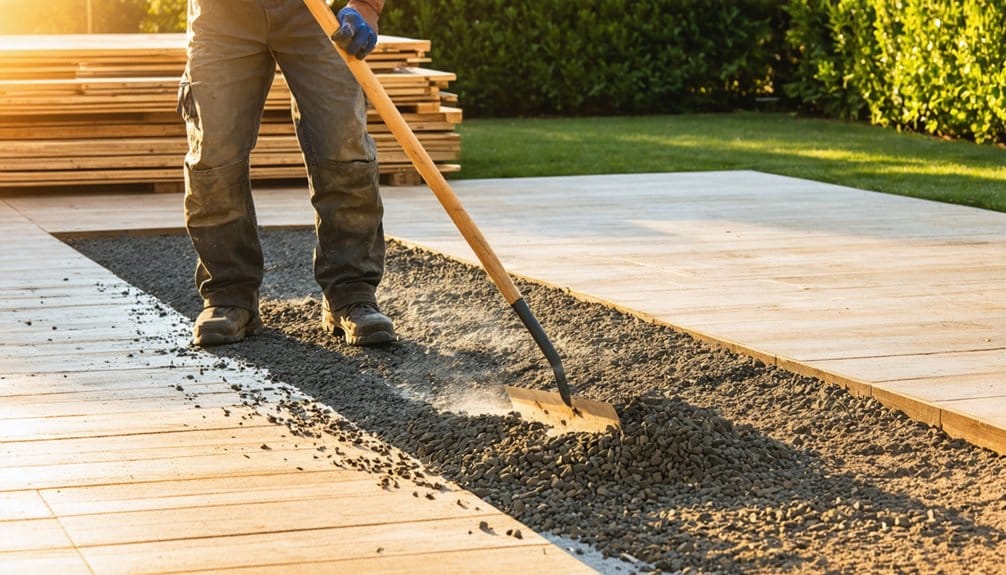
With the ground surface firmly compacted and sloped, the next phase involves installing the base layer, which provides structural support and drainage for the patio.
This layer typically consists of crushed stone or gravel, creating a stable foundation that prevents shifting and settling over time. Proper depth and compaction are critical to ensure longevity.
Key steps include:
- Spreading a 4 to 6-inch layer of crushed stone evenly across the patio area
- Using a plate compactor to firmly compact the base, eliminating air pockets
- Ensuring the base follows the established slope for water runoff
- Checking for uniform thickness and adjusting as needed
This carefully prepared base layer supports the weight of the patio and facilitates effective drainage beneath the pavers.
Laying the Patio Pavers
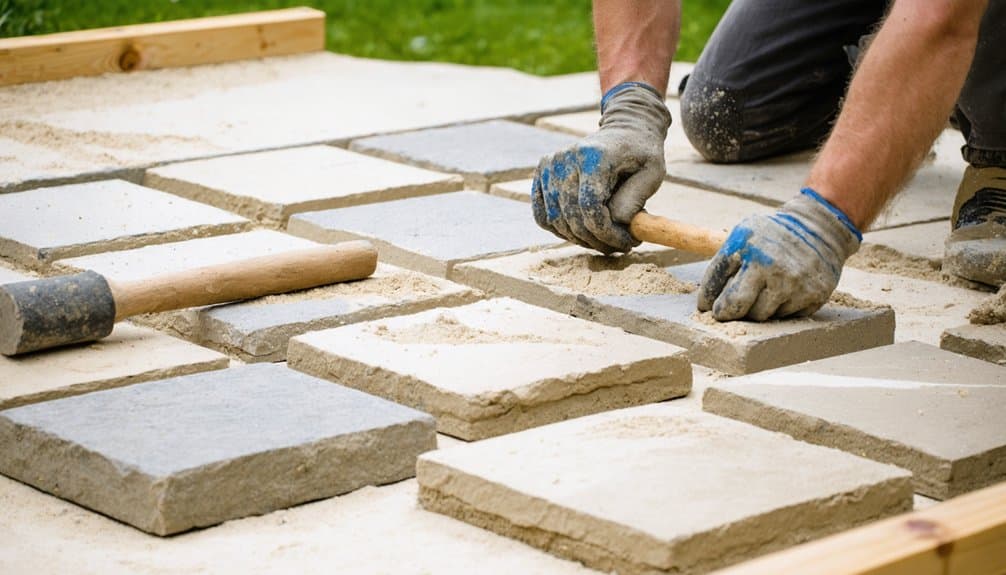
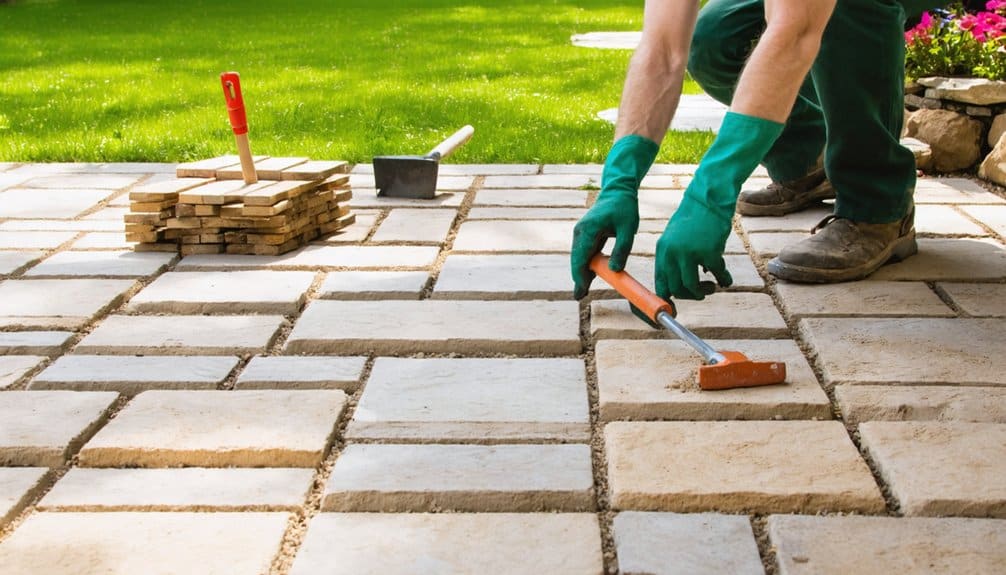
Arranging the patio pavers requires careful alignment and consistent spacing to achieve a stable and visually appealing surface. Begin by placing the first paver at a corner or edge, ensuring it is level. Continue laying pavers in the chosen pattern, checking alignment frequently with a string line or straightedge. Maintain uniform gaps between pavers, typically 1/8 to 1/4 inch, to allow for joint sand. After positioning each row, lightly tap the pavers with a rubber mallet to set them into the base layer.
| Step | Tool Needed | Tip |
|---|---|---|
| Lay initial paver | Level | Start from a corner |
| Align subsequent | String line | Check straightness often |
| Tap pavers | Rubber mallet | Ensure firm placement |
Cutting and Fitting Pavers for Edges
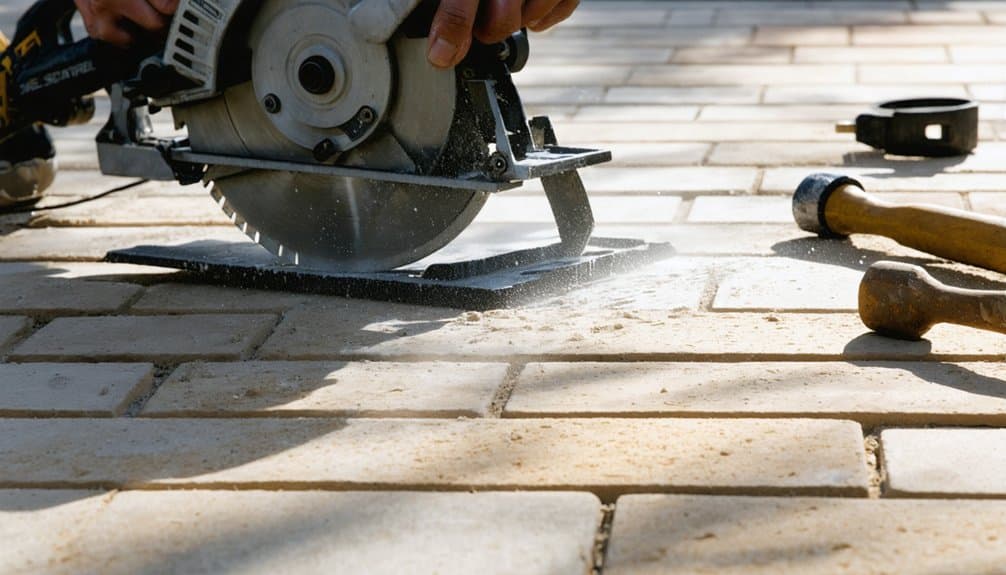
Accurate measurement of paver dimensions is essential for a clean edge finish.
A wet saw is commonly used to make precise cuts, ensuring the pavers fit snugly along the patio borders.
Proper cutting and fitting contribute to both the appearance and stability of the patio edges.
Measuring Paver Dimensions
Several key measurements must be taken to ensure pavers fit snugly along the patio edges.
Accurate dimensions prevent gaps and uneven spacing, maintaining the patio’s aesthetic and structural integrity. First, measure the exact length and width of the area where edge pavers will be placed.
Next, note any irregular shapes or angles along the boundary. Record the thickness of the pavers to match the existing surface level.
Finally, consider the width of the joints between pavers for a uniform appearance.
- Length and width of edge spaces
- Angles and curves of patio boundaries
- Paver thickness for level alignment
- Joint spacing for consistent gaps
These precise measurements guide cutting and fitting, ensuring a polished finish.
Using a Wet Saw
Cutting pavers to fit along patio edges requires a wet saw, a tool designed to deliver clean, precise cuts while minimizing dust and debris. The wet saw uses a diamond blade cooled by water, which prevents overheating and reduces chipping.
Proper setup involves securing the paver firmly on the saw’s sliding tray and marking the cut line clearly. The operator should wear safety goggles and gloves to protect against flying fragments.
Slow, steady movements through the blade ensure smooth edges, essential for tight-fitting corners and borders. After cutting, the paver can be adjusted and positioned accurately along the patio perimeter.
Mastery of the wet saw technique improves the overall appearance and durability of the finished patio installation.
Filling Joints and Securing Pavers
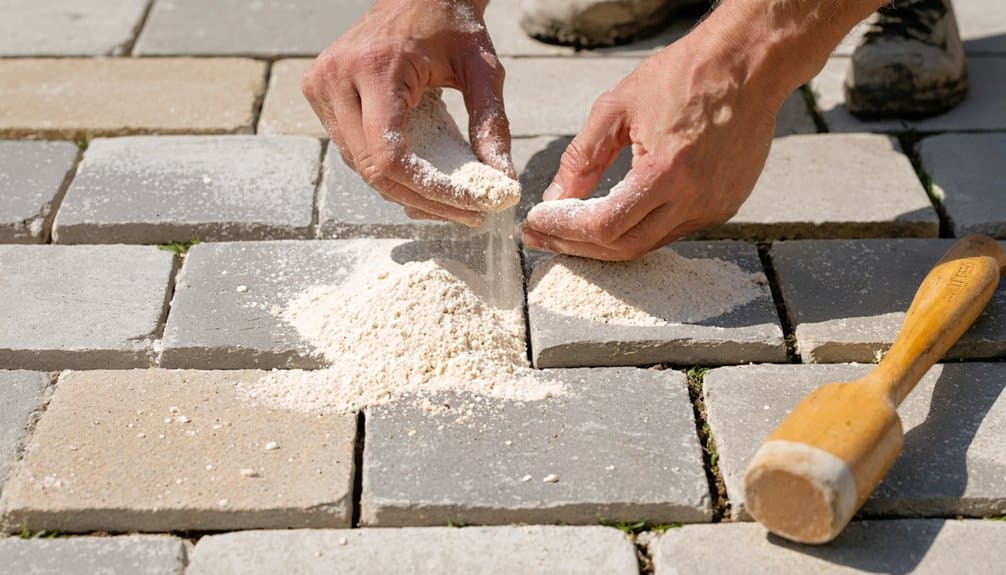
Completing the patio installation requires filling the joints between pavers to lock them in place and prevent shifting. This step enhances stability and prevents weed growth.
Typically, polymeric sand or fine gravel is swept into the gaps, then compacted with a broom or plate compactor. Excess material is removed to maintain clean edges. Proper joint filling ensures durability and a polished look.
Key points to consider:
- Use polymeric sand for a solid, weather-resistant bond.
- Sweep material diagonally across the pavers for even filling.
- Lightly mist the surface to activate the binding agents.
- Avoid overwatering to prevent sand washout and ensure firm setting.
This process secures the patio’s structure, preparing it for long-term use.
Adding Finishing Touches and Features

A variety of finishing touches and features can enhance both the functionality and aesthetics of a patio. Incorporating elements such as outdoor lighting improves usability after dark and highlights architectural details.
Adding built-in seating or decorative planters creates inviting spaces and integrates natural elements. Fire pits or chimneys offer warmth and focal points for gatherings.
Installing a pergola or shade structure provides comfort and visual interest while defining the patio area. Selecting complementary furniture and weather-resistant cushions elevates comfort and style.
Decorative accents like outdoor rugs, sculptures, or water features personalize the space. These thoughtful additions transform a basic patio into a tailored outdoor living area that suits individual preferences and extends its usability throughout different seasons.
Maintaining Your New Patio for Longevity
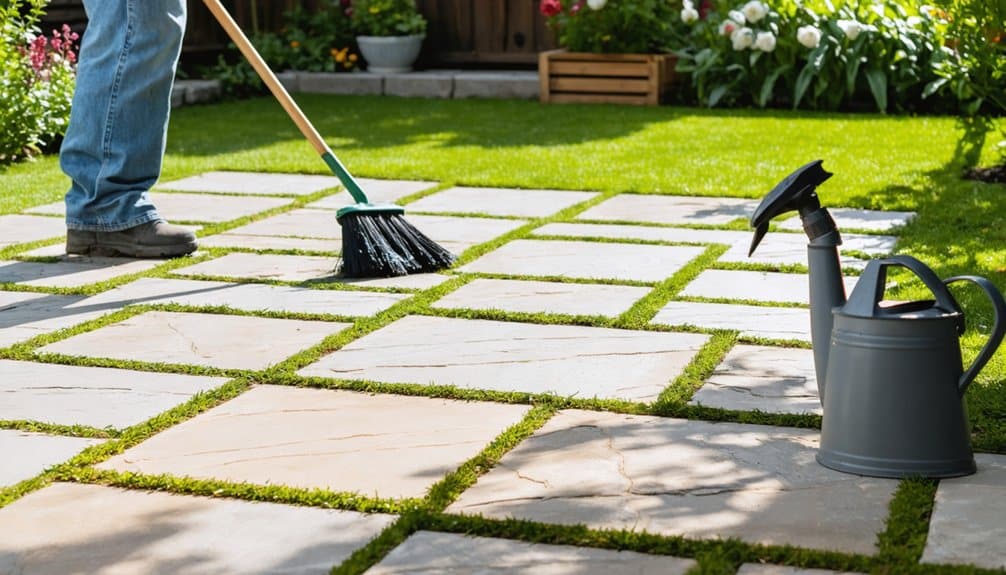
Proper maintenance is essential to preserve the appearance and durability of a new patio.
Regular cleaning prevents buildup of dirt and debris, while seasonal tasks address weather-related wear.
Adhering to these practices helps extend the patio’s lifespan effectively.
Regular Cleaning Tips
Consistent cleaning routines significantly extend the lifespan of a patio by preventing dirt buildup and surface damage.
Regular removal of debris and stains maintains the patio’s appearance and structural integrity. To keep a patio in optimal condition, the following cleaning practices are recommended:
- Sweep the surface weekly to remove leaves, dirt, and dust.
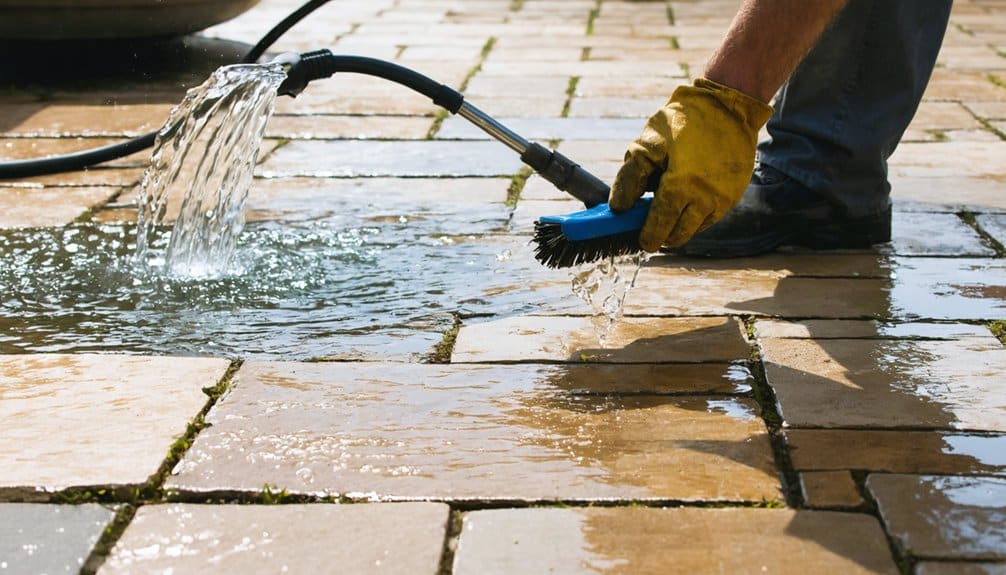
- Wash the patio monthly using a mild detergent and water, avoiding harsh chemicals.
- Use a stiff broom or brush to scrub away stubborn dirt or moss in joints.
- Rinse thoroughly after cleaning to prevent residue buildup.
These simple, routine actions help preserve the patio’s materials and avoid costly repairs, ensuring the outdoor space remains inviting and durable over time.
Seasonal Maintenance Tasks
Although regular cleaning maintains surface appearance, seasonal maintenance tasks address deeper issues that arise throughout the year.
Inspecting the patio for cracks or loose stones following winter helps prevent further damage caused by freeze-thaw cycles. Clearing debris and leaves in autumn reduces moisture retention that can deteriorate materials.
Applying a sealant in spring protects against UV rays and water infiltration, extending the patio’s lifespan. Additionally, checking drainage systems ensures water does not pool, which can undermine the foundation.
Addressing weed growth between pavers during growing seasons prevents structural compromise. Seasonal attention to these tasks preserves the patio’s integrity, preventing costly repairs and maintaining its aesthetic appeal.
Consistent maintenance aligned with seasonal changes maximizes durability and enhances outdoor enjoyment year-round.
Frequently Asked Questions
How Do I Obtain Permits for Patio Installation?
To obtain permits for patio installation, one must contact the local building department, submit detailed plans, and complete required applications. Approval may involve inspections to ensure compliance with zoning and safety regulations before proceeding.
Can I Install a Patio on a Slope?
Installing a patio on a slope is possible but requires proper planning. Techniques such as terracing, retaining walls, or stepped designs stabilize the area, prevent erosion, and ensure safety. Consulting local regulations and professionals is advisable.
What Are Eco-Friendly Patio Material Options?
Eco-friendly patio materials include reclaimed wood, recycled concrete, natural stone, permeable pavers, and bamboo. These options reduce environmental impact by using sustainable or repurposed resources while enhancing outdoor aesthetics and durability.
How Long Does a Typical Patio Installation Take?
A typical patio installation usually takes between two to five days, depending on project size, material choice, and site conditions. Complex designs or larger areas may extend the timeline, while simpler projects often finish more quickly.
Can I Install Outdoor Lighting With My Patio?
Outdoor lighting can be installed alongside a patio, enhancing ambiance and safety. It requires planning for electrical sources, selecting appropriate fixtures, and ensuring weatherproofing. Proper installation may involve professional assistance for wiring and safety compliance.
Conclusion
A successful DIY patio installation transforms a backyard into an inviting outdoor retreat. By thoughtfully planning the layout, selecting quality materials, and carefully preparing the ground, homeowners ensure durability and aesthetic appeal. Attention to detail during installation, including precise cutting and joint filling, contributes to a polished finish. With regular maintenance, the new patio will provide lasting enjoyment, enhancing both the functionality and value of the home’s outdoor space.