Creating a DIY lawn irrigation system can enhance the health and appearance of any yard. It involves a systematic approach to assess watering needs and gather essential materials. Proper planning and installation are crucial for efficient water distribution. With just a few straightforward steps, anyone can achieve a well-irrigated lawn. However, understanding the nuances of each phase can make a significant difference in the system’s effectiveness. What comes next may surprise those new to irrigation.
Key Takeaways
- Assess your lawn’s needs by evaluating soil type, grass species, and local climate conditions to determine optimal watering frequency.
- Gather essential materials, including PVC pipes, fittings, a reliable water source, and sprinklers for even water distribution.
- Plan your irrigation layout by measuring the area, selecting an irrigation method, and drafting a diagram for component placement.
- Install the irrigation system, connecting the main and lateral lines, and setting up sprinklers according to your planned layout.
- Test the system for coverage and pressure, adjusting sprinkler heads and watering times based on soil moisture readings for efficiency.
Assess Your Lawn and Watering Needs
How can one determine the specific watering needs of their lawn?
To effectively assess the lawn’s requirements, one must consider factors such as soil type, grass species, and local climate conditions. A well-drained sandy soil may need more frequent watering compared to clay soil, which retains moisture longer.
Evaluating the grass type will also influence watering frequency; some varieties are more drought-resistant than others. Additionally, observing the lawn for signs of stress, such as wilting or discoloration, can provide insights into its hydration needs.
For those opting for a DIY lawn irrigation system, understanding these elements is crucial. This foundational knowledge ensures that the system will deliver adequate water, promoting a healthy and vibrant lawn.
Gather Necessary Materials and Tools
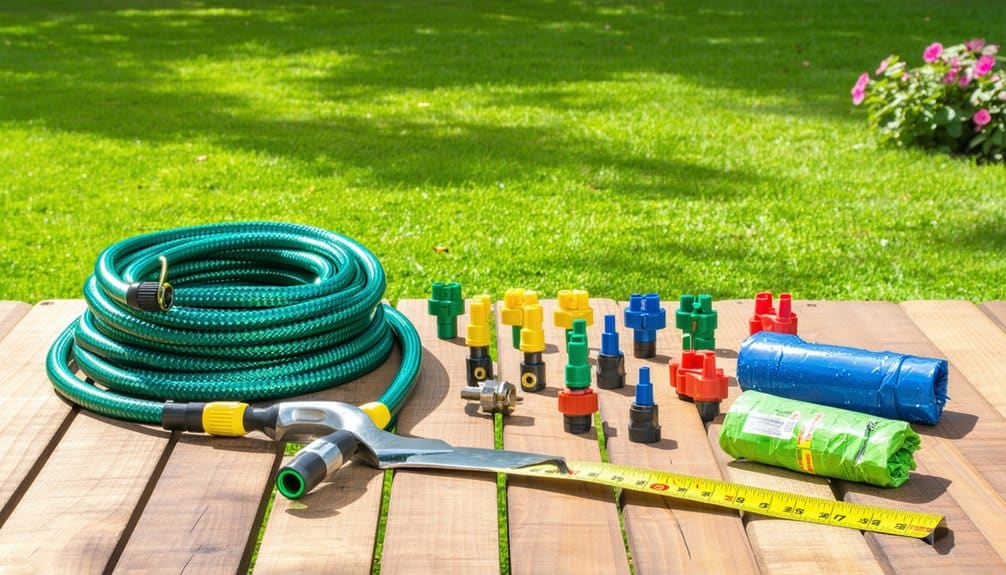
A successful DIY lawn irrigation system requires careful selection of materials and tools to ensure efficient installation and operation. Essential components include PVC pipes, fittings, and connectors, which form the backbone of the system.
Additionally, a reliable water source is necessary; this may involve a pump or a simple garden hose attachment. Sprinklers are crucial for distributing water evenly across the lawn, making an effective diy sprinkler system a priority.
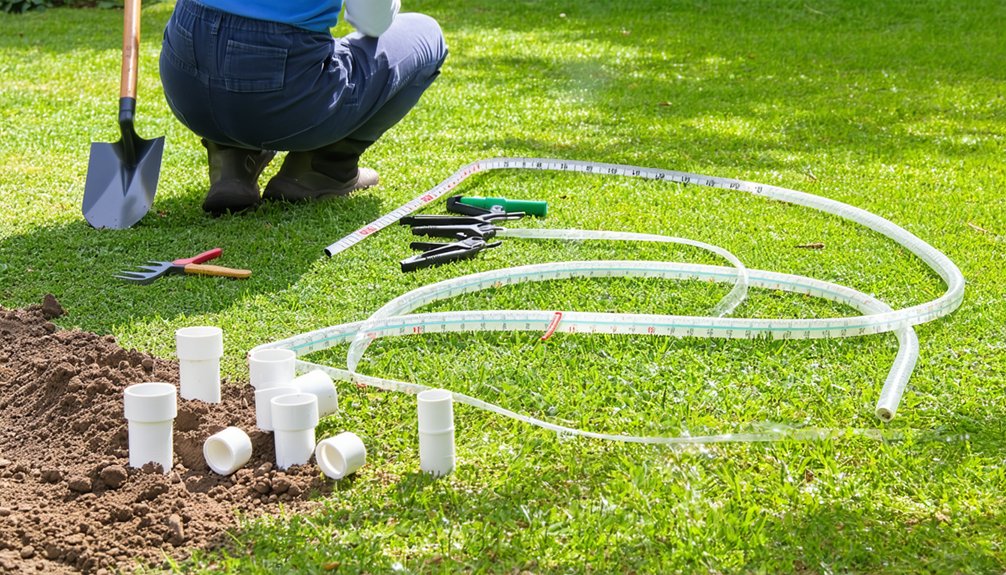
Other important tools include a shovel for digging trenches, a measuring tape for accurate placement, and a wrench for tightening fittings.
Finally, a timer or controller can enhance efficiency by automating the watering schedule. By gathering these materials and tools beforehand, the DIY enthusiast can streamline the installation process.
Plan Your Irrigation Layout
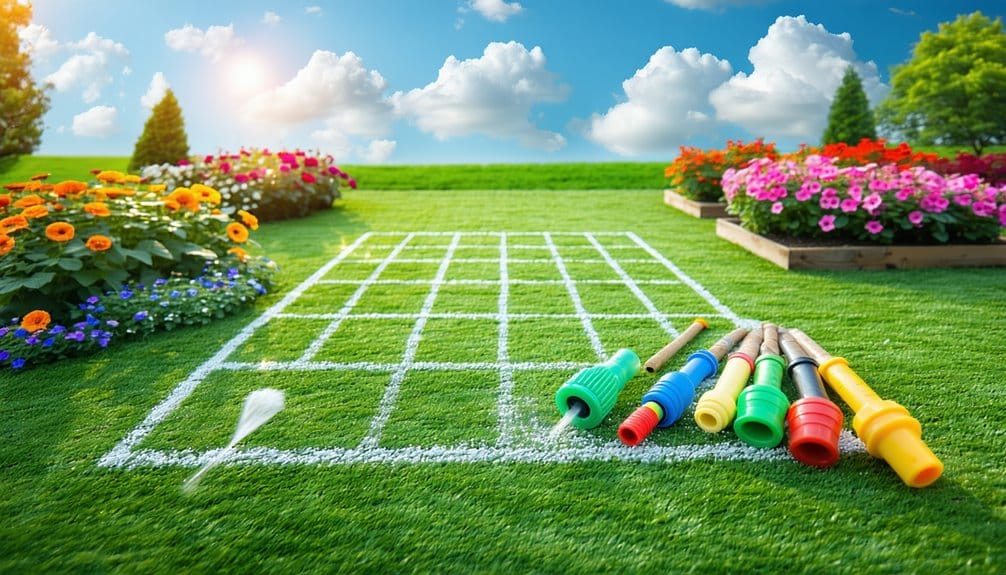
Effective planning of the irrigation layout is crucial for ensuring optimal water distribution across the lawn. A well-thought-out design minimizes water waste and promotes healthy grass growth.
To achieve an efficient home irrigation system, one should consider the following steps:
- Assess the Landscape: Identify sun and shade areas to determine watering needs.
- Measure the Area: Calculate the square footage of the lawn to plan the coverage.
- Select Irrigation Method: Choose between drip irrigation, sprinklers, or soaker hoses based on the lawn’s requirements.
- Draft a Layout: Create a diagram detailing the placement of the irrigation components, ensuring even coverage and accessibility.
Install the Irrigation System
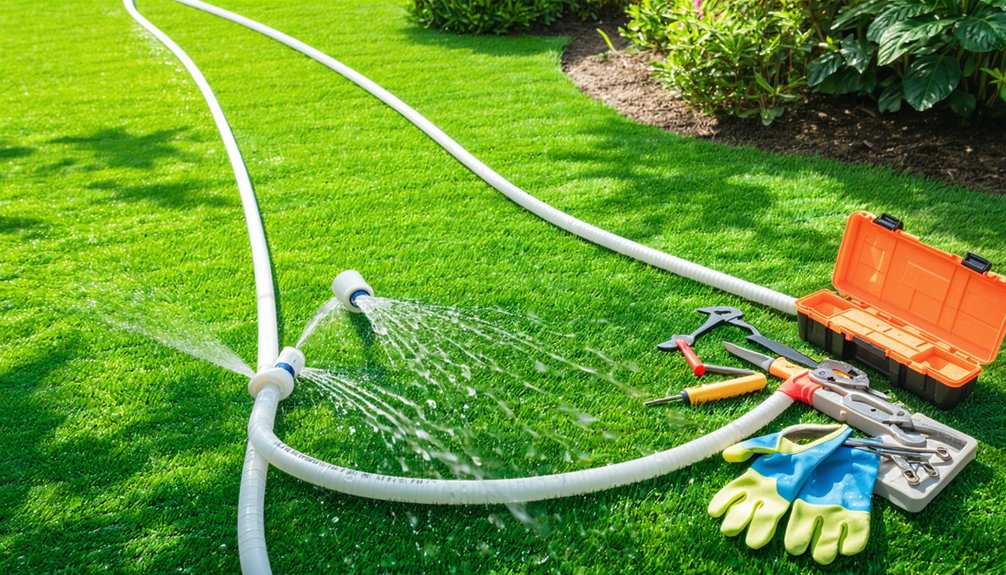
Installing the irrigation system transforms the landscape into a thriving green space. Proper installation is crucial for efficient lawn care and ensures that water reaches every corner of the garden. First, lay out the main line and connect it to the water source. Then, position the lateral lines according to the planned layout, ensuring they are level and secure. Finally, install sprinklers or drip emitters at designated spots for optimal coverage.
| Step | Description | Tips |
|---|---|---|
| Main Line Installation | Connect to water source | Use PVC or polyethylene pipes |
| Lateral Line Placement | Position according to layout | Maintain even spacing |
| Sprinkler Setup | Install and adjust for coverage | Test positions beforehand |
This systematic approach enhances the effectiveness of the irrigation system.
Test and Adjust the System
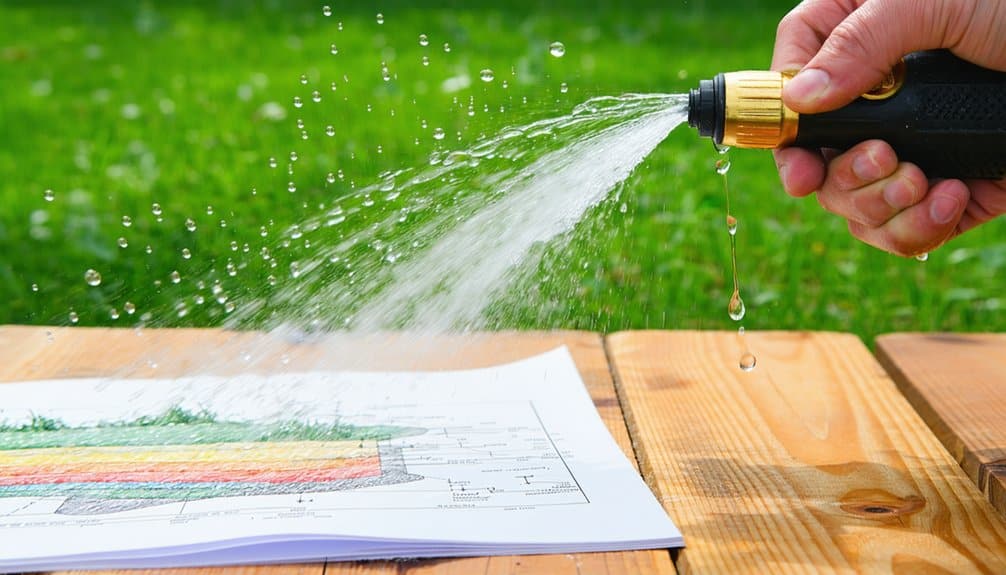
Testing and adjusting the irrigation system is essential to ensure optimal performance and water efficiency. A properly calibrated garden watering system not only conserves water but also promotes healthy plant growth.
Below are key steps to effectively test and adjust the system:
- Run the System: Activate the irrigation system and observe the coverage area for any dry spots or excessive runoff.
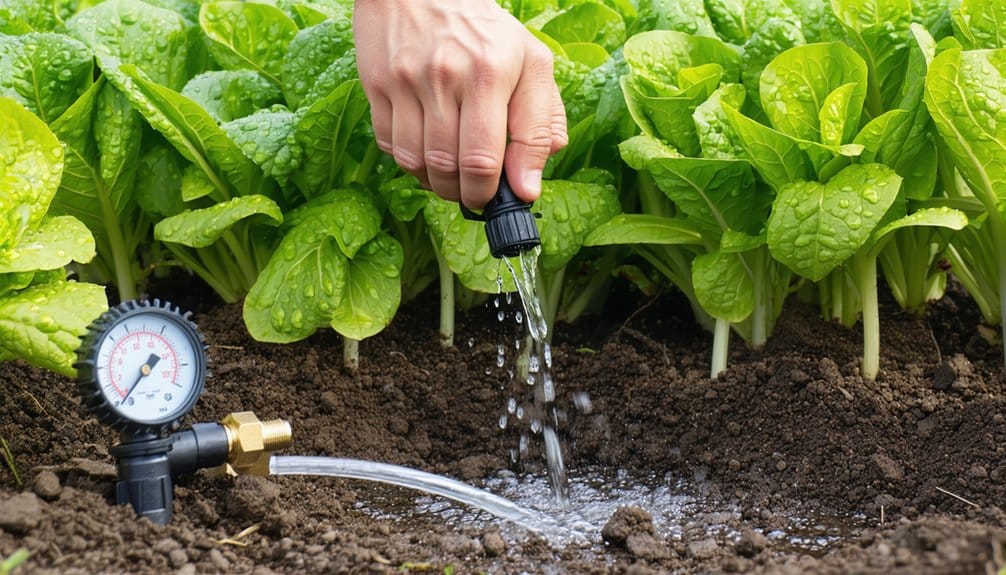
- Check Pressure: Use a pressure gauge to ensure water pressure is within the recommended range for the system.
- Adjust Sprinkler Heads: Modify the angle or position of sprinkler heads to improve water distribution.
- Monitor Soil Moisture: Use a moisture meter to assess soil saturation and adjust watering times accordingly.
Conclusion
In conclusion, building a DIY lawn irrigation system can be an efficient way to ensure your lawn receives the proper care it needs. By carefully assessing watering requirements, gathering the right materials, planning the layout, and executing the installation, homeowners can create a functional irrigation system. Testing and adjusting the setup will further enhance its effectiveness. With these five easy steps, anyone can achieve a lush, healthy lawn while saving time and resources.